Saber Champagne

Opening a bottle of bubbles (champagne, or sparkling wine) can be tricky if you’re inexperienced. We’ve all seen an errant cork fly off and hit a wall, break a lamp shade or knock your best friend’s glasses off. You can look like a professional by draping a cloth over the bottle first to help stop the cork from flying away, or you can be a total badass and saber the top off.

Step 1: Chill the bottle
The bottle needs to be cooler than you would normally keep a sparkling wine. You can submerge it in a lot of ice, but I usually just stick it in the freezer for half an hour or so. It should be long enough to be very cold but not frozen.

Step 2: Find a good spot
The entire top of the bottle is about to shoot off so make sure you are not performing this directly facing anyone. It will come off with some force so be careful of anything fragile – you’ll lose a lot of the effect if you saber the bottle and break an expensive piece of artwork. Outdoor space is perfect as it will give the cork space to fly, but don’t do it out of a high window or the people below could get a nasty surprise.
Step 3: Gather a crowd
What’s the point of sabering if you don’t have a good crowd to wow?
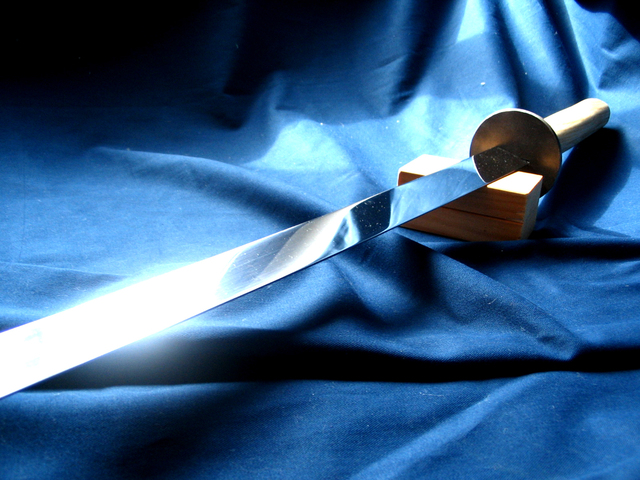
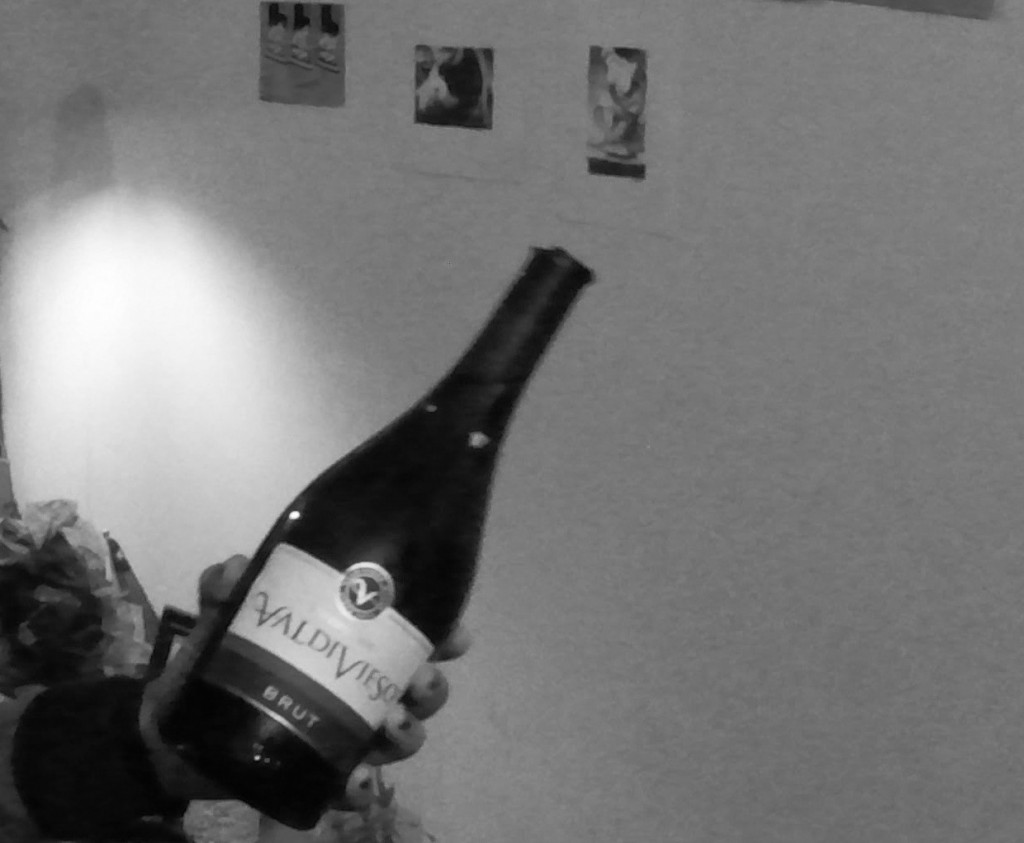
Step 4: Pick a good saber (or knife)
The key here is to find something you can control well, it does not need to be heavy. You’re not cutting or hacking at the bottle, some people can do it with a small hit from the end of a wine glass. I recommend starting with chef’s knife.
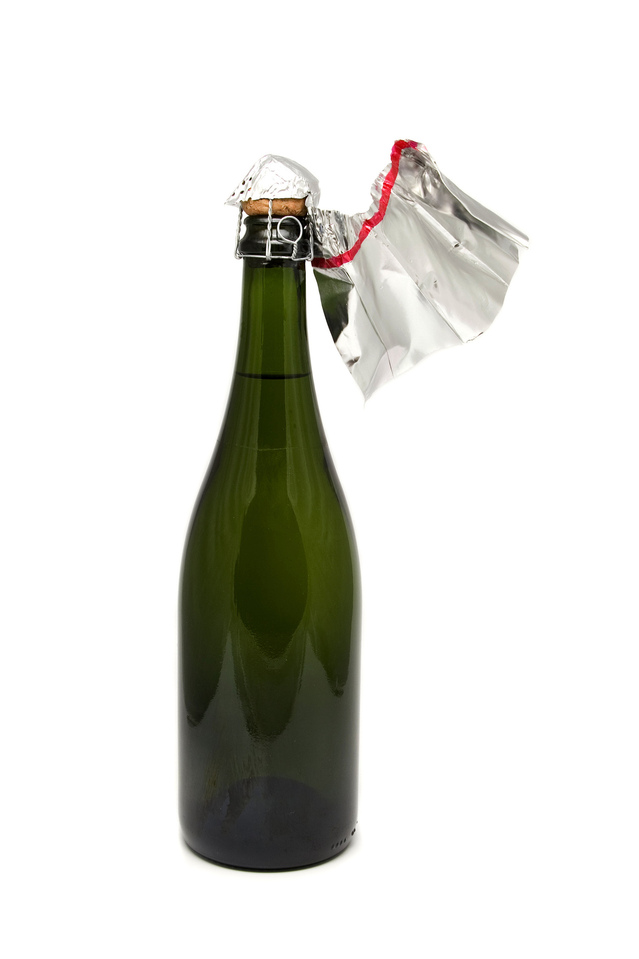
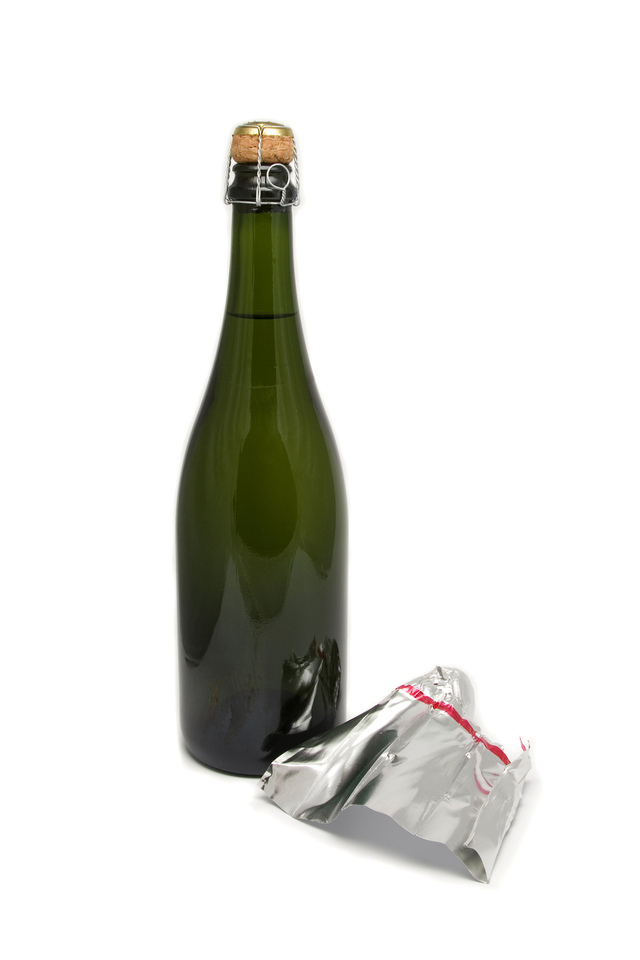
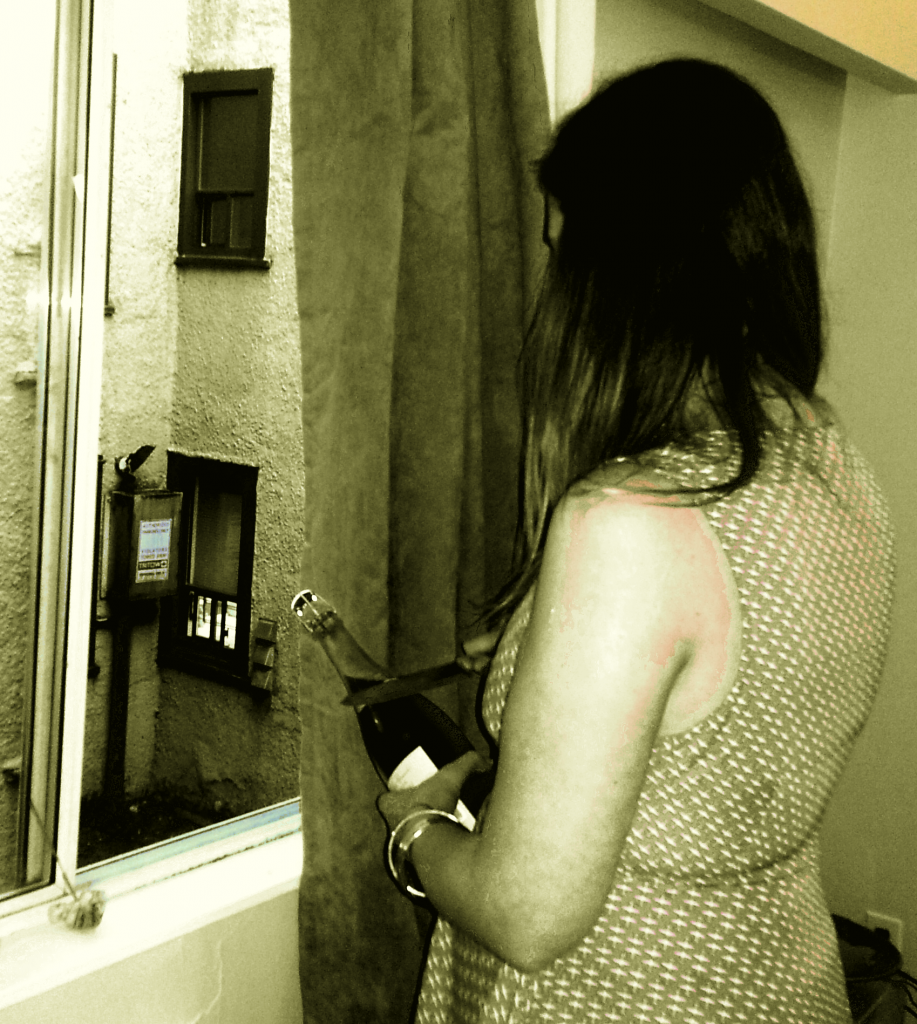
Step 5: Remove the foil and wire from the top
Take all the foil off the top of the bottle and remove the wire basket so your saber and the cork are unimpeded.
Step 6: Find the larger seam of the bottle
Run your fingers around the bottle and you’ll feel a horizontal seam on either side of the bottle. Feel for the thicker of the two seams and place that facing up.
Step 7: Hold the bottle at a 20 degree angle
The key to this is in the angle of the bottle and your saber. If you have it at the correct angle you won’t need much pressure at all to achieve the perfect beheading.
Step 6: Behead the bottle
This is the final step, slide your saber of choice parallel to the bottle along the seam, up the neck and in a smooth motion tap the collar (the top ridge). Follow through with the saber in one gesture. Be sure not to try to cut the top off the bottle. If you chip the glass at all your angle is wrong and you are using too much force. Back off, adjust your angle and try again more softly.
ENJOY!

Follow these instructions and (after a few practice runs) you’ll be sabering at every occasion.